How to add custom contact form in Cargo Site(no-code)
In this blog, I will discuss about how you can add custom contact form in Cargo Site

We will be using the third party plugin to create the custom contact form.
STEP 1: You can create signup to the site from the mentioned link – https://partnerstack.powr.io/59m5r6vws3i4
Step 2: Click on ‘Create New App.
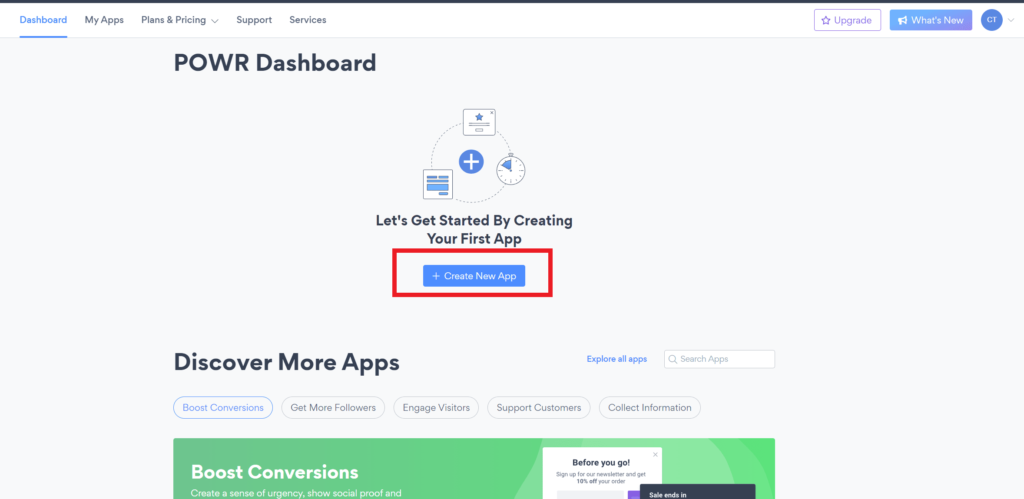
STEP 3: Search for the ‘Form Builder’ plugin and select it.

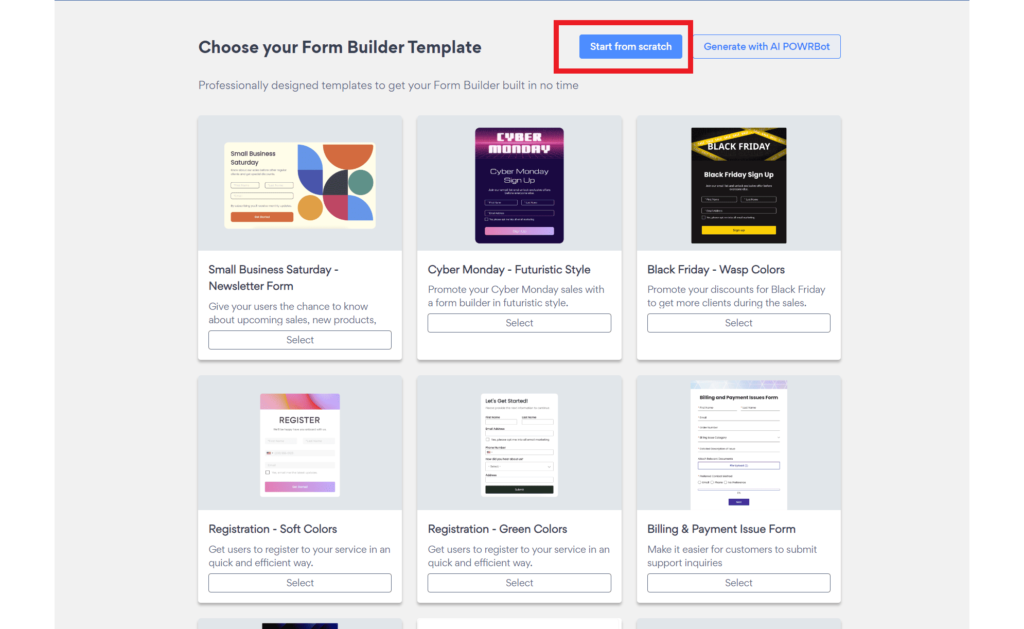
STEP 4: Click on Start from Scratch. You can also select a pre-made designed form and then customize it.
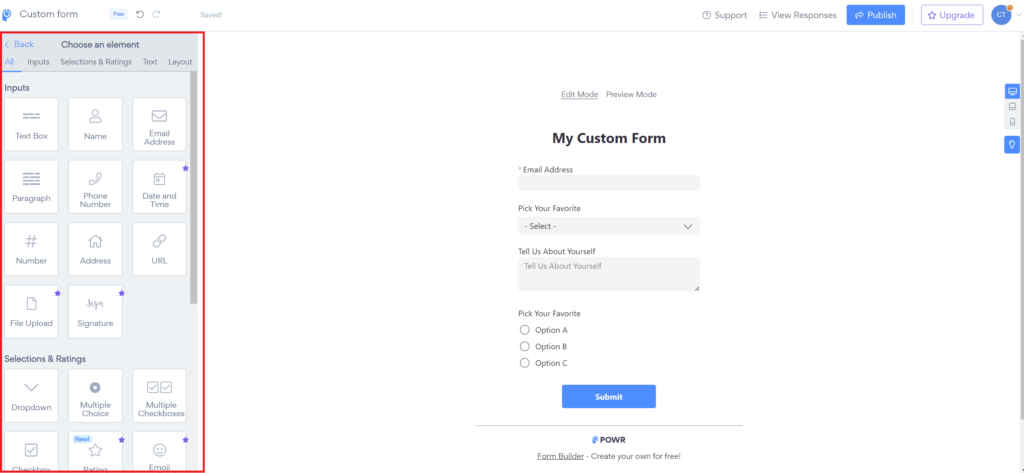
STEP 5: It will create a dummy form with a few fields already added. To edit the form, go to the Form tab, then to the Elements tab. Here, you will see all the default fields, which you can edit or delete as needed.

STEP 6: To add a new element, click on Add Element. You will see different field options—select any field that suits your requirements.
STEP 7: After submitting the form, you can choose where the form submissions go by navigating to the Settings tab and selecting the “Email to Form Admin” option. You can also view all responses by clicking on the “View Responses” option at the top right.

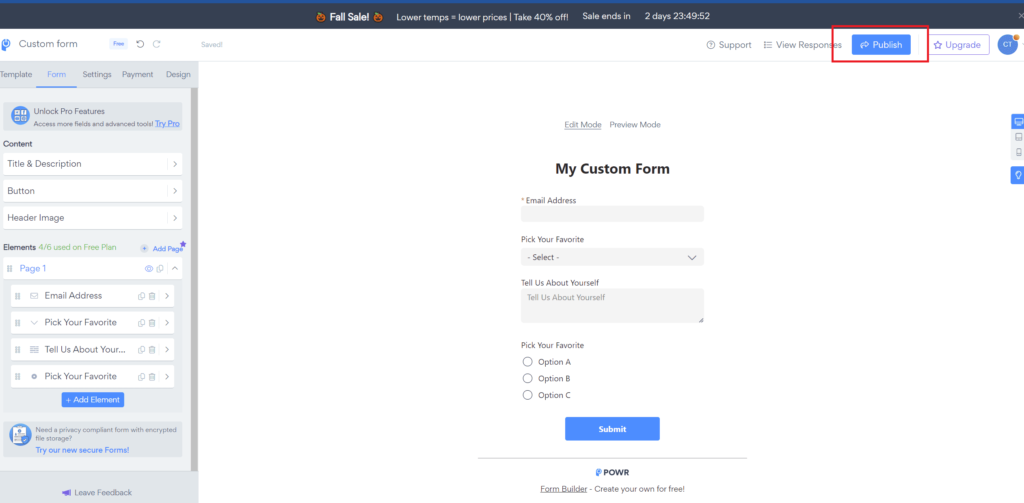
STEP 8: Now you can explore various options in the Design and Settings tabs. You can also connect Mailchimp to the form from the Settings tab, along with many other options. After creating the form, click on Publish from the top right above.
STEP 9: After publishing, select the “Embed with Code” option and copy the provided code.
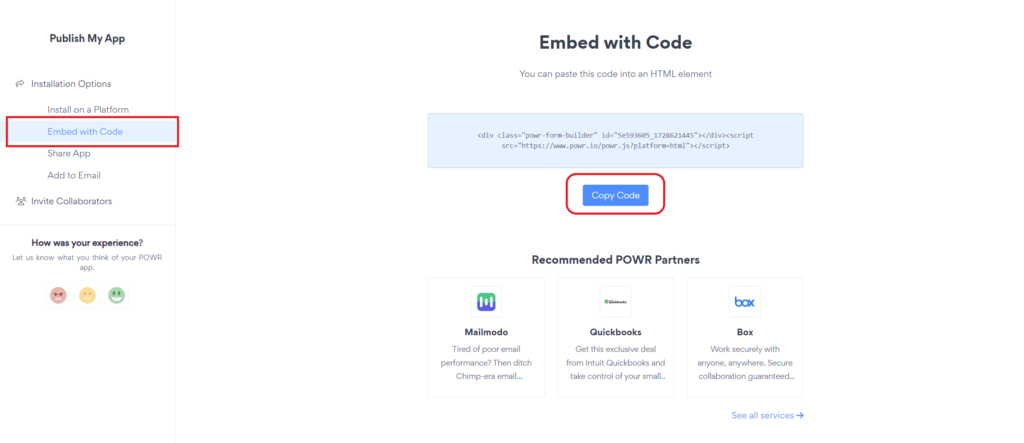
STEP 10: Go to your Cargo site and navigate to the page where you want to add the contact form. Click on the code icon, go to the HTML tab, paste the code, and click on Update. This will embed the form into your site.

STEP 11: To remove the POWR branding logo, go to the Design tab and select the “Remove POWR Branding” option. You will need to purchase a plan to remove the branding.

STEP 12: Sometimes, after publishing the site, the form may not update immediately. To resolve this issue, open the code editor, locate the poorLoaded value in the form, remove that value, and click on Update. This will reload the form.

I hope you have enjoyed reading the blog.🚀
If you want to add newsletter popup to your Cargo Site check this blog – https://cargotutorials.com/how-to-add-newsletter-in-cargo-site/


