How to add a Dropdown menu in Cargo Site?
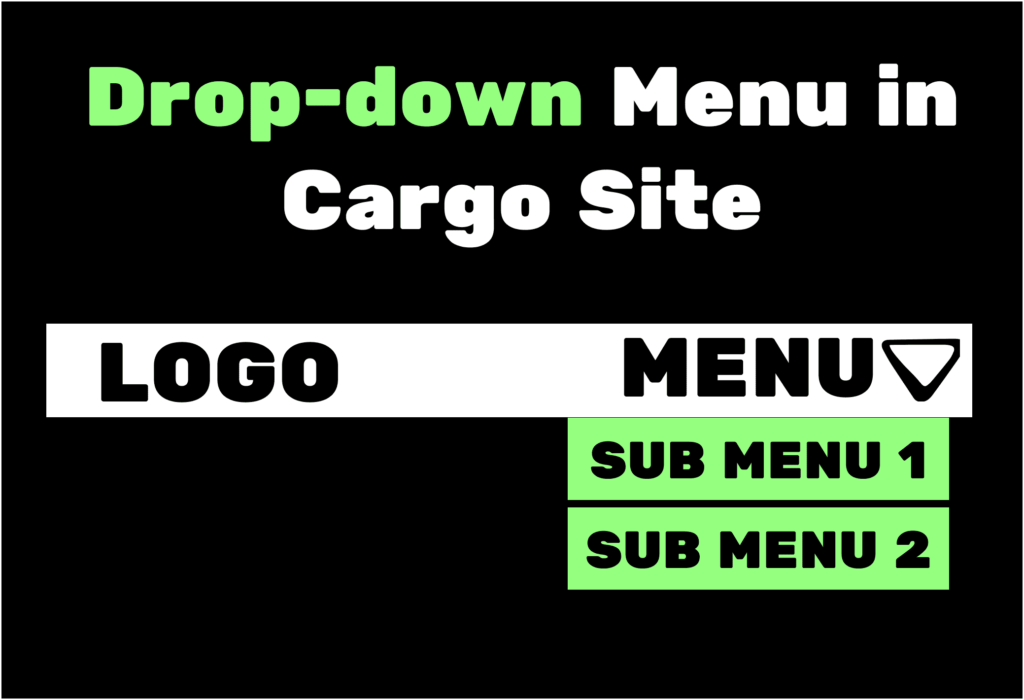
Would you like to add a dropdown menu in Cargo site?
A dropdown menu is a convenient way to display a list of links when visitors hover over a menu item. It helps organize your content into categories and allows you to showcase a variety of options without cluttering your site’s layout.
In this beginner-friendly guide, we’ll walk you through the steps to create a dropdown menu in Cargo site.
Why is it important to add a Dropdown menu in Cargo Site?
There is no option by default to have a dropdown menu in Cargo Site, but you can still create dropdown menus with a bit of custom HTML and CSS.
Navigation menus are important links to key pages on your website, usually placed next to your site’s logo. In a simple layout, you might have all menu links in a single row for easy access. However, for larger sites or online stores with lots of content, this can clutter the layout.
Dropdown menus come to the rescue by revealing menu links only when visitors hover over the parent item. They’re great for organizing content into categories or topics.
For Cargo sites, since there’s no default menu setup, we’ll create our dropdown menus using custom HTML and CSS. Let’s dive into how you can easily set this up and enhance your site’s navigation.
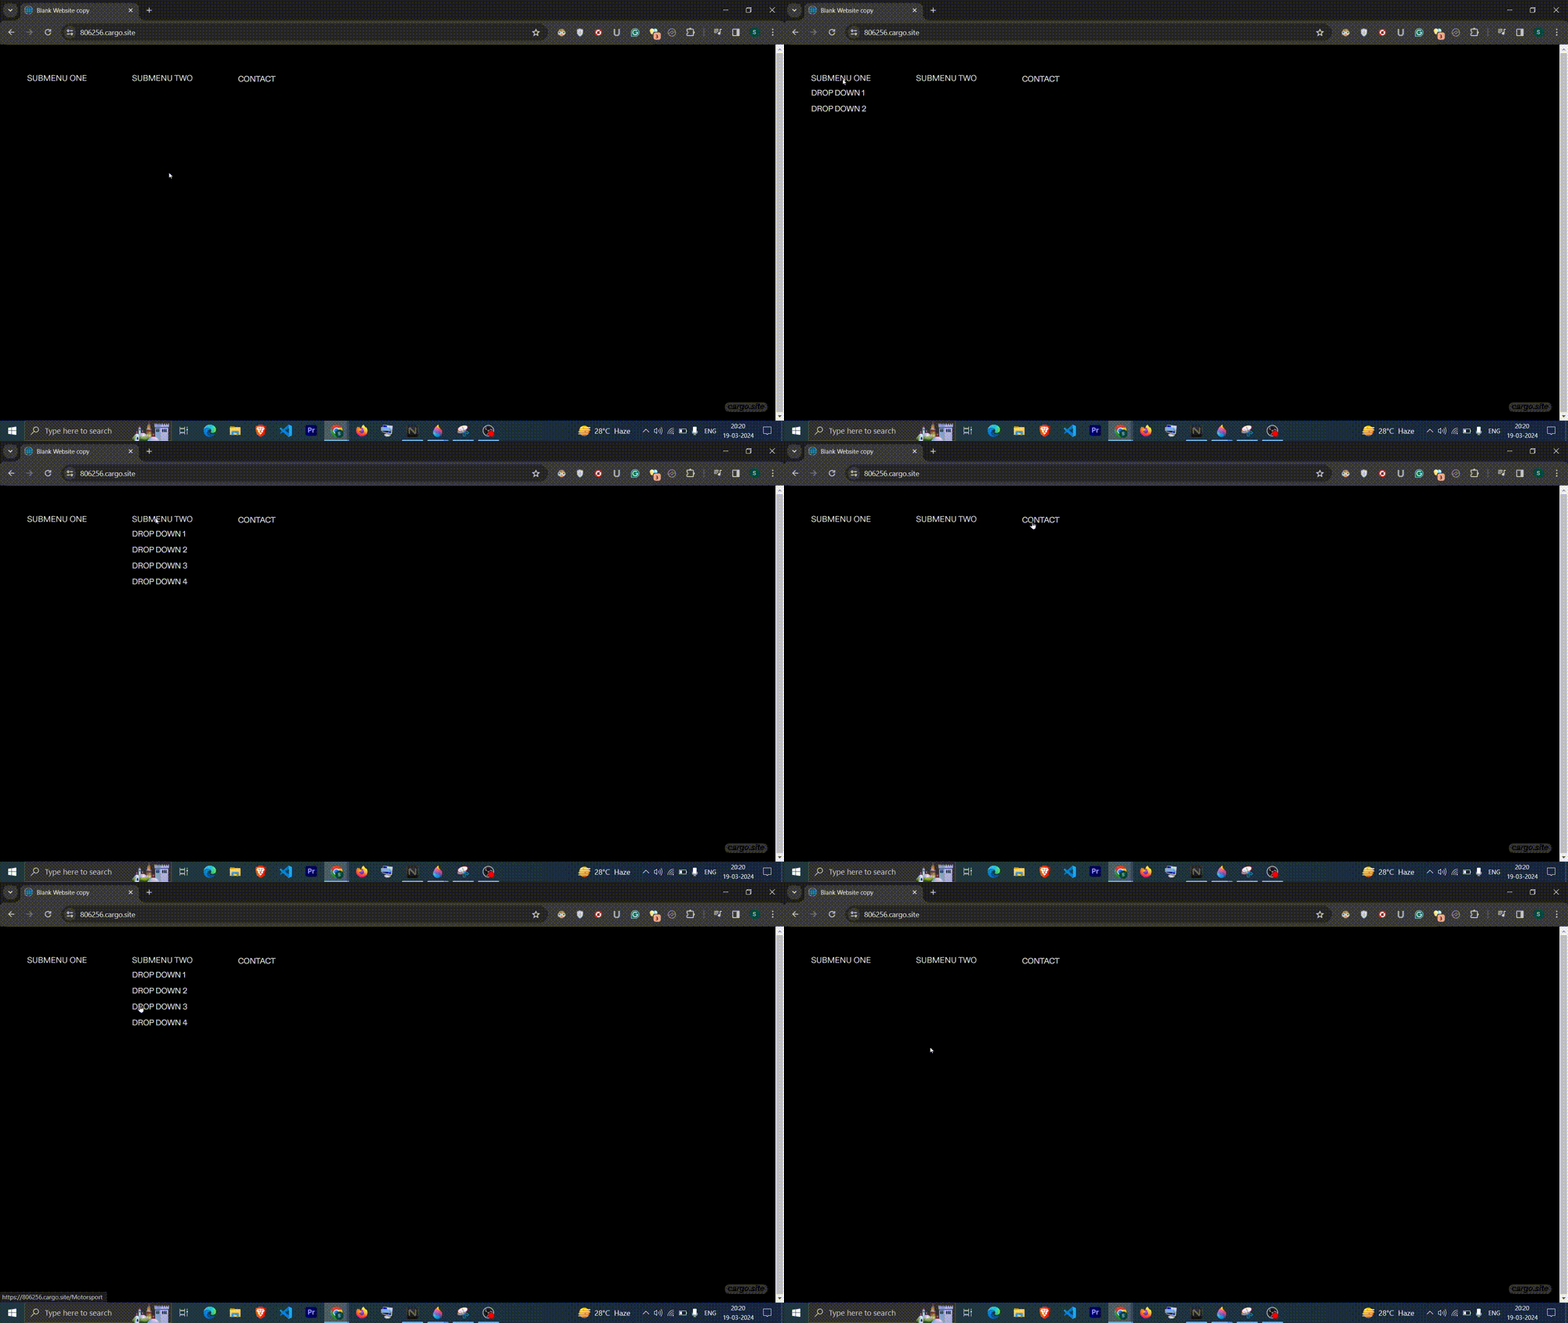
Add dropdown menu to Cargo 3
Follow these steps to create a dropdown menu for Cargo 3
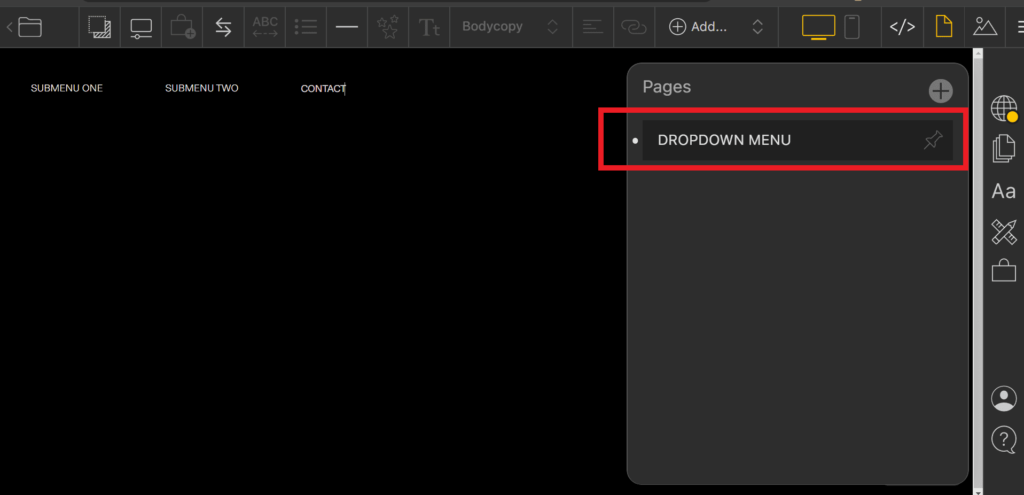
STEP 1 – Open up your Cargo 3 editor and make a new page just for your dropdown menu.
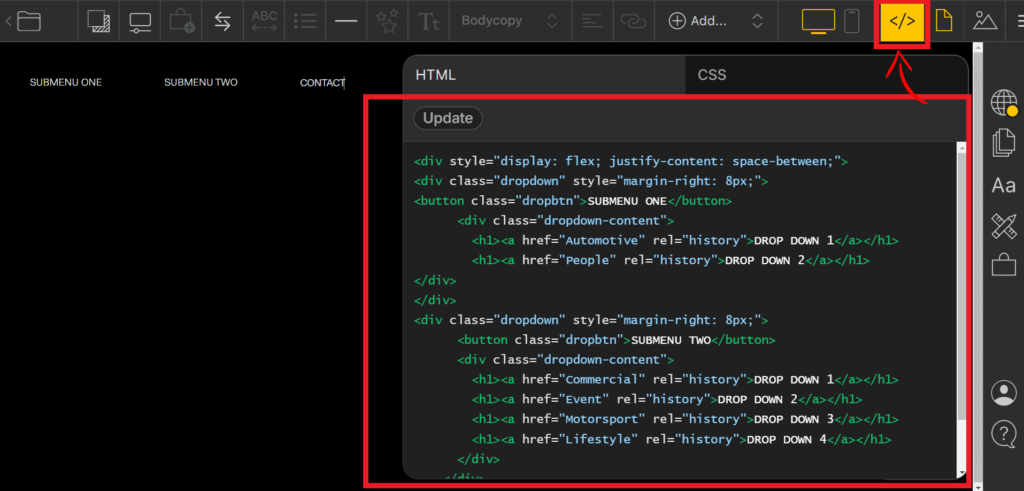
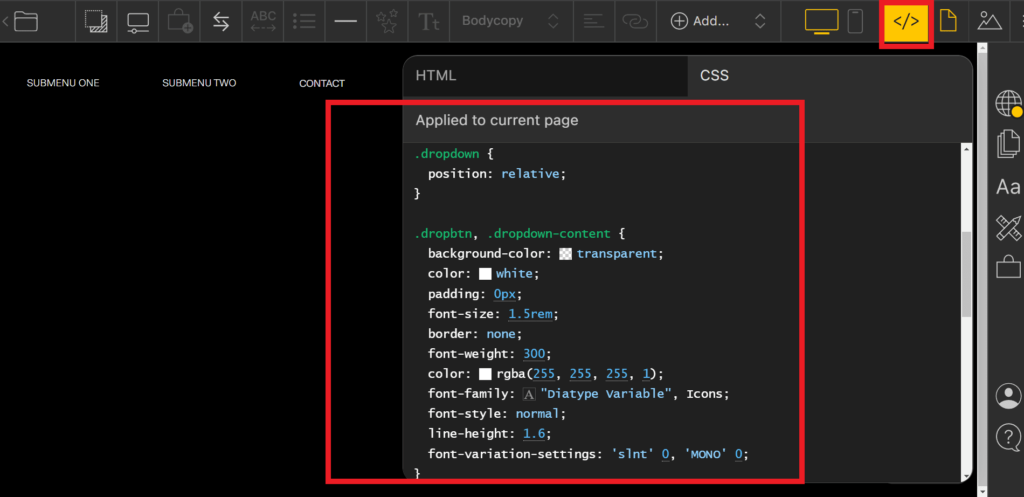
STEP 2 – Click on the code icon in the top right corner of the settings tab to access the local page code editor. Then, add the HTML code provided below.
<div style="display: flex; justify-content: space-between;">
<div class="dropdown" style="margin-right: 8px;">
<button class="dropbtn">SUBMENU ONE</button>
      <div class="dropdown-content">
        <h1><a href="Automotive" rel="history">DROP DOWN 1</a></h1>
        <h1><a href="People" rel="history">DROP DOWN 2</a></h1>
</div>
</div>
<div class="dropdown" style="margin-right: 8px;">
      <button class="dropbtn">SUBMENU TWO</button>
      <div class="dropdown-content">
        <h1><a href="Commercial" rel="history">DROP DOWN 1</a></h1>
        <h1><a href="Event" rel="history">DROP DOWN 2</a></h1>
        <h1><a href="Motorsport" rel="history">DROP DOWN 3</a></h1>
        <h1><a href="Lifestyle" rel="history">DROP DOWN 4</a></h1>
      </div>
    </div>
    <h1><a href="Contact" rel="history">CONTACT</a></h1>
  </div>
Code explanation –
- The outermost
<div>the tag uses inline CSS to create a flexbox layout with, which evenly spaces the child elements along the main axis. - Inside this container, there are two dropdown menus and a standalone link for contact.
- Each dropdown menu is enclosed within a
<div>tag with the class “dropdown” and inline CSS for the right margin. - Within each dropdown, there’s an
<button>element with the class “dropbtn” serving as the dropdown trigger button. - Below the dropdown button, there’s a
<div>with class “dropdown-content” which contains the dropdown menu items. - Inside each dropdown content, there are
<h1>heading elements, each containing an anchor<a>tag with anhrefattribute specifying the link destination and arelattribute for history navigation. - The standalone “CONTACT” link is outside of any dropdown menu and is placed directly within the flex container.
This HTML code creates a structured layout with two dropdown menus and a standalone link, organized using Flexbox for easy alignment and spacing.
STEP 3 – Switch to the CSS tab and paste the following CSS code:
.dropdown {
  position: relative;
}

.dropbtn, .dropdown-content {
  background-color: transparent;
  color: white;
  padding: 0px;
  font-size: 1.5rem;
  border: none;
  font-weight: 300;
  color: rgba(255, 255, 255, 1);
  font-family: "Diatype Variable", Icons;
  font-style: normal;
  line-height: 1.6;
  font-variation-settings: 'slnt' 0, 'MONO' 0;
}

.dropdown-content {
  display: none;
  position: absolute;
  background-color: transparent;
  min-width: auto;
  box-shadow: 0px 8px 15px 0px transparent;
  z-index: 1;
}

.dropdown-content .menu-item {
  padding: 0px 0px;
}

.dropdown-content .menu-item:hover {
  background-color: rgba(255, 255, 255, 0.2);
}

.dropdown-content .menu-item a {
  color: #fff;
  text-decoration: none;
}

.dropdown:hover .dropdown-content{
  display: block;
}
.dropdown-content:hover {
  display: block;
}
Code explanation –
.dropdown: This class sets the position property to a relative for elements with the class “dropdown”. This is necessary for positioning the dropdown content relative to its parent..dropbtn, .dropdown-content: These selectors apply styling to both the dropdown button and the dropdown content. They set the background color, font size, padding, border, font-weight, color, font family, line height, and font variation settings..dropdown-content: This class sets the display property to none, hiding the dropdown content by default. It also sets the position property to absolute, allowing the content to be positioned relative to its nearest-positioned ancestor..dropdown-content .menu-item: These selectors style the menu items within the dropdown content, setting padding and hover effects..dropdown-content .menu-item a: This selector styles the anchor tags within the menu items, setting color and text decoration..dropdown:hover .dropdown-content: This rule ensures that when the dropdown button is hovered over, the dropdown content is displayed (by changing its display property to block)..dropdown-content:hover: This rule ensures that it remains visible when the dropdown content is hovered over.
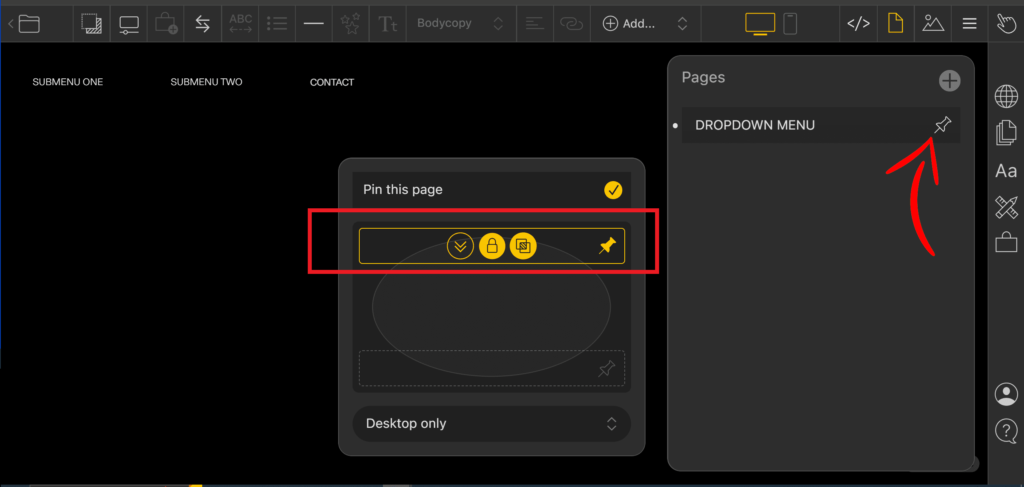
STEP 4 – Ensure that you pin the page so that it appears at the top of every page on your website. Once done, publish the changes to make them live.
We’ve successfully added the dropdown menu to Cargo 3. Feel free to customize it to your liking. If you have any questions or need assistance, don’t hesitate to ask in the discussion forum.
Add dropdown menu to Cargo 2
Here’s how you can add a dropdown menu to your Cargo 2 website:
STEP 1: Go to your Cargo 2 editor and make a new page for your dropdown menu.
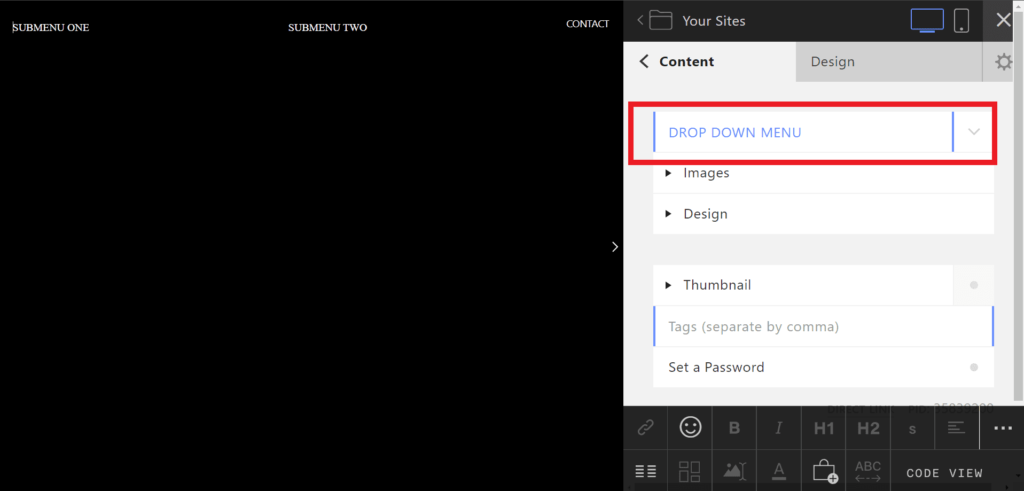
STEP 2: At the bottom right, you’ll see the “CODE VIEW” option. Click on it and then paste the HTML code provided below.
<div style="display: flex; justify-content: space-between;">
<div class="dropdown" style="margin-right: 8px;">
<button class="dropbtn">SUBMENU ONE</button>
      <div class="dropdown-content">
        <h1><a href="Automotive" rel="history">DROP DOWN 1</a></h1>
        <h1><a href="People" rel="history">DROP DOWN 2</a></h1>
</div>
</div>
<div class="dropdown" style="margin-right: 8px;">
      <button class="dropbtn">SUBMENU TWO</button>
      <div class="dropdown-content">
        <h1><a href="Commercial" rel="history">DROP DOWN 1</a></h1>
        <h1><a href="Event" rel="history">DROP DOWN 2</a></h1>
        <h1><a href="Motorsport" rel="history">DROP DOWN 3</a></h1>
        <h1><a href="Lifestyle" rel="history">DROP DOWN 4</a></h1>
      </div>
    </div>
    <h1><a href="Contact" rel="history">CONTACT</a></h1>
  </div>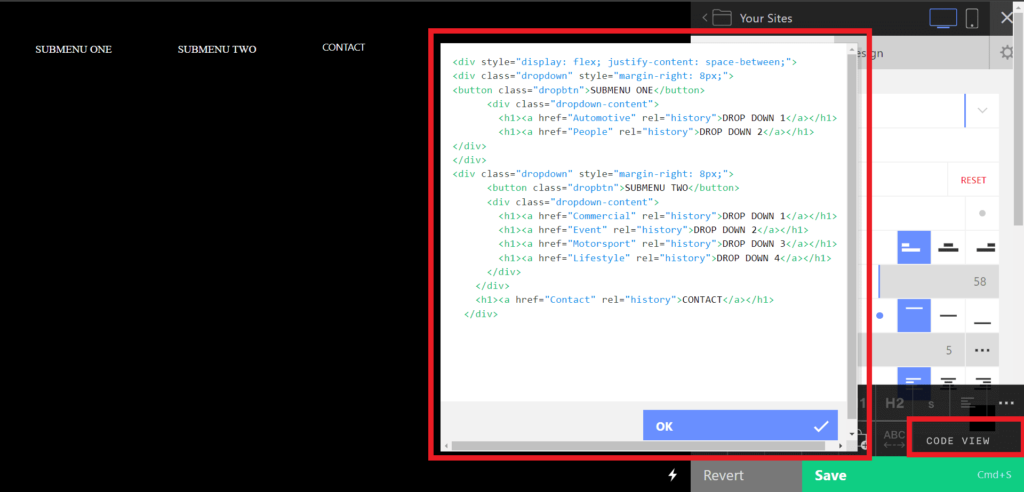
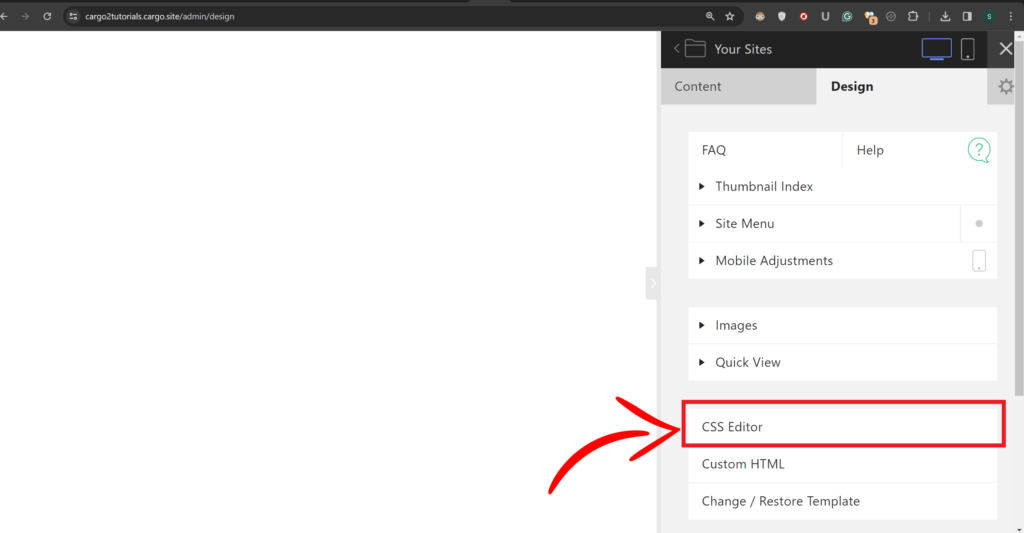
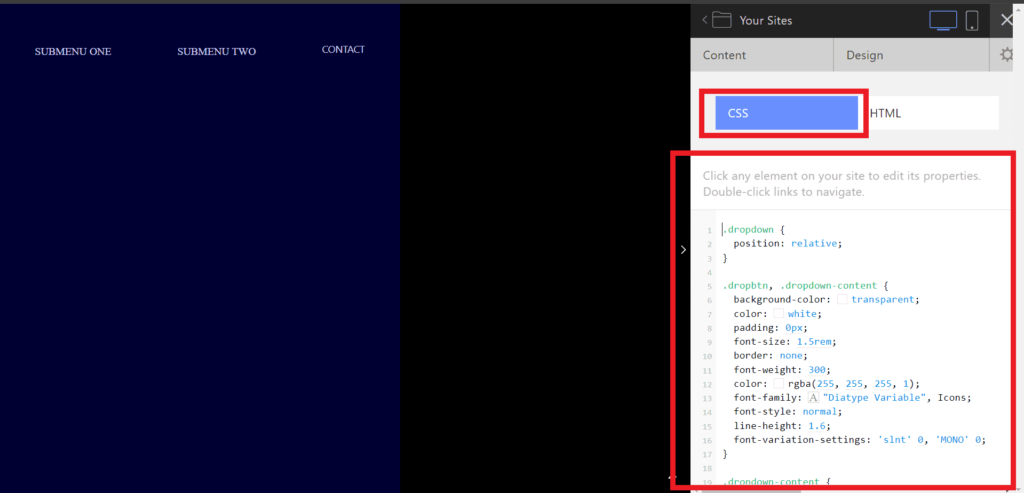
STEP 3: Next, navigate to the Design tab and open the CSS editor. Paste the following CSS code into the editor.
.dropdown {
  position: relative;
}

.dropbtn, .dropdown-content {
  background-color: transparent;
  color: white;
  padding: 0px;
  font-size: 1.5rem;
  border: none;
  font-weight: 300;
  color: rgba(255, 255, 255, 1);
  font-family: "Diatype Variable", Icons;
  font-style: normal;
  line-height: 1.6;
  font-variation-settings: 'slnt' 0, 'MONO' 0;
}

.dropdown-content {
  display: none;
  position: absolute;
  background-color: transparent;
  min-width: auto;
  box-shadow: 0px 8px 15px 0px transparent;
  z-index: 1;
}

.dropdown-content .menu-item {
  padding: 0px 0px;
}

.dropdown-content .menu-item:hover {
  background-color: rgba(255, 255, 255, 0.2);
}

.dropdown-content .menu-item a {
  color: #fff;
  text-decoration: none;
}

.dropdown:hover .dropdown-content{
  display: block;
}
.dropdown-content:hover {
  display: block;
}
We’ve added the dropdown menu to your Cargo 2 site. Customize it as you wish. If you need help, just ask in the forum.
Conclusion
In short, adding a dropdown menu in Cargo site can make navigating it much easier for your visitors. Just follow the steps provided earlier to set it up and customize it as per your requirements. If you run into any issues, don’t hesitate to ask for help in the forum. Once your dropdown menu is live, your website will be more user-friendly and organized, making it a better experience for everyone who visits.

