How to add image gallery in Cargo Collective Site
In this blog, we will learn about how to add an image gallery in the Cargo 2 site editor. As we know being an artist we want to showcase our work images in a nice format maybe in a Grid layout or Image Slider or sometimes images in a freeform layout. We are going to learn all these things in this blog on how to add an image gallery in Cargo Collective.
Image gallery in Cargo Site
First, go to the Cargo 2 editor and go to the page on which you want to add an image gallery to your Cargo Collective website. Upload the images.
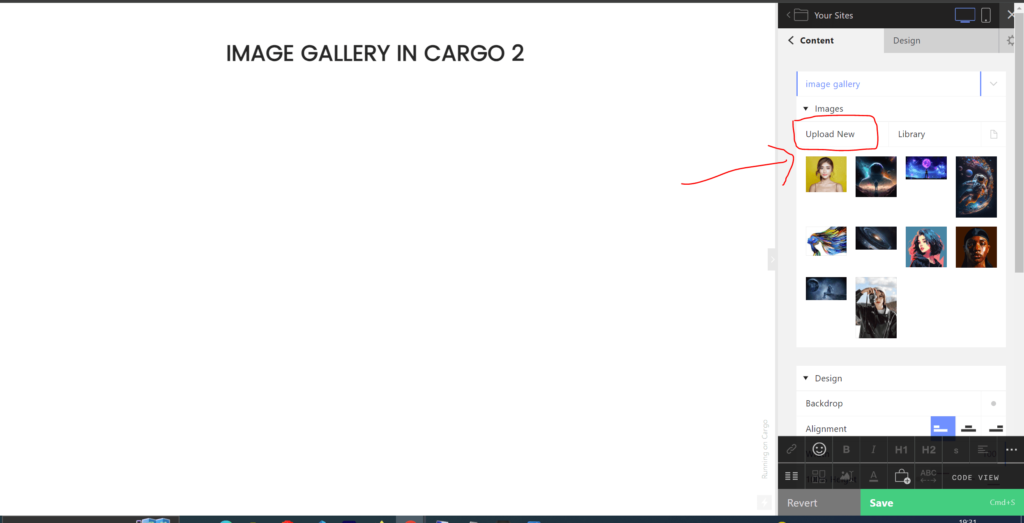
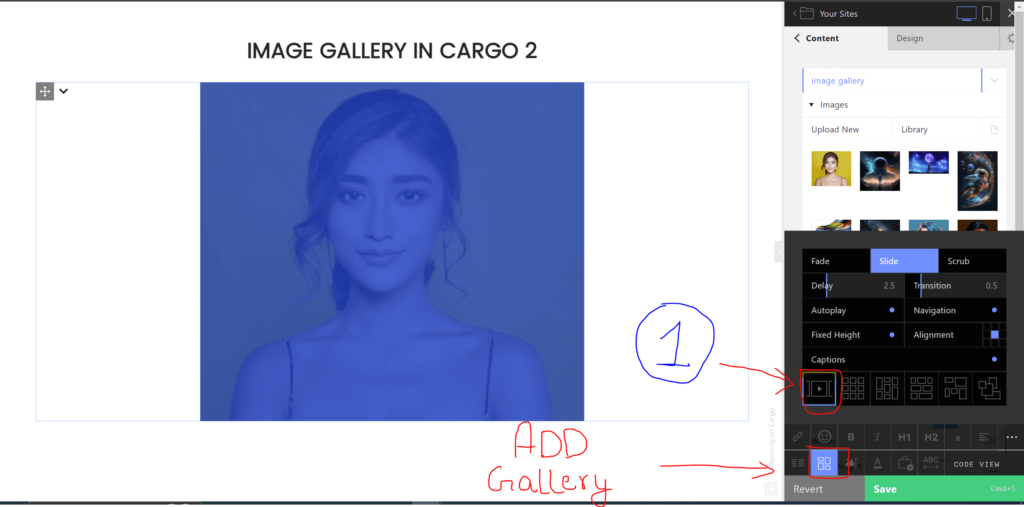
After uploading all the images, drag one image inside the editor and after that select that image after selecting the image you will have a blue color effect which means that you have selected the image now at the bottom right you will see the gallery icon click on that it will open the different options related to the image gallery lets talk about them one by one.
1. SlideShow
First grid layout we have the SlideShow as the name indicates you will have the image gallery slider option. Now after selecting the image you can start adding more images into the Image Slider.
It has different options let’s talk about them one by one –
- Slide Animation: Choose between Fade, Slider, or Scrub animations for transitioning between images.
- Delay: Adjust the timing for the next image slide according to your preference.
- Transition: Determine the duration of the slider animation.
- Autoplay: Enable this option if you want images to automatically change after a few seconds.
- Navigation: Enable this option if you want navigation arrows to move images forward and backward.
- Alignment: Customize the image alignment within the gallery.
Before talking about the next layout there are a few settings that are the same as the other layouts like Columns, Gutter, and Captions.
Columns: Determine how many images you want to display in a single column. Drag the columns setting to your desired number, e.g., set it to 6 for displaying 6 images per column.
Gutters: Gutters refer to the spacing between gallery images. Set the gutter value to control the space between images. A value of 0 means no space, while an increasing gutter number adds more space between images.
Captions: Enable captions to display text associated with images, if available.
Top 5 Cargo Effects that you must know.😍
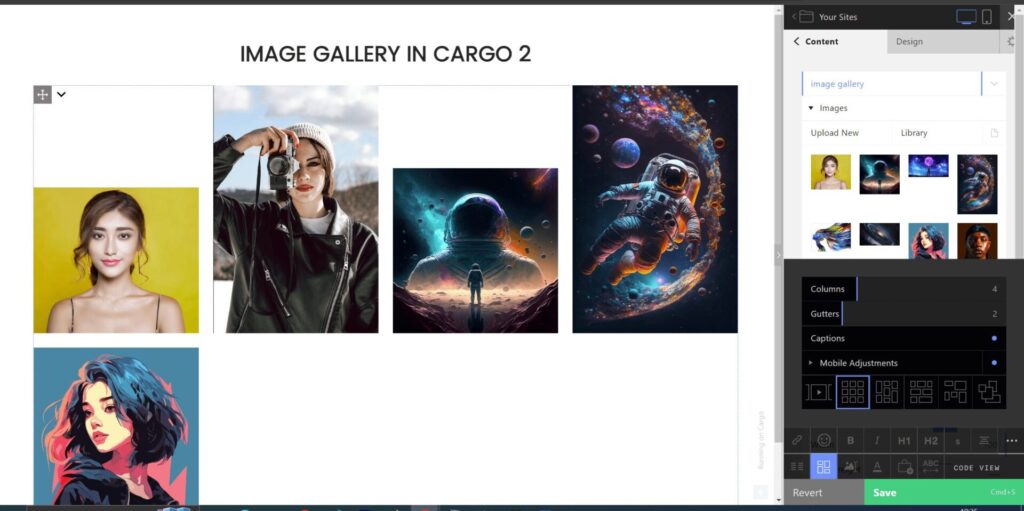
2. Grid
Second Layout we have the Grid layout in which we have the images in a grid system. The grid layouts work best for the images having equal width and height.
3. Columns Layout
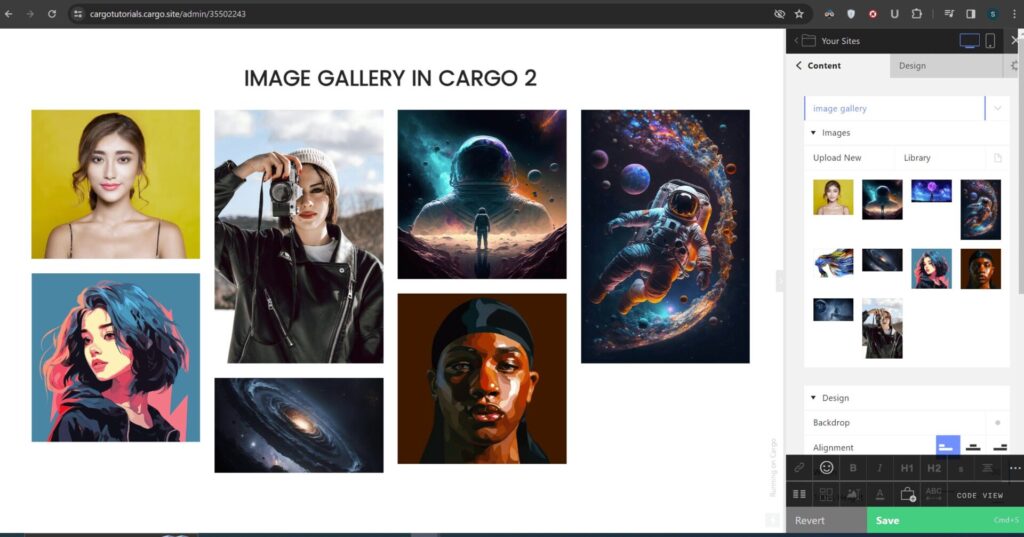
The Columns layout works best for the image of different widths and heights as it takes the space as per their size. You can adjust the columns and gutter as per your need.
4. Justify
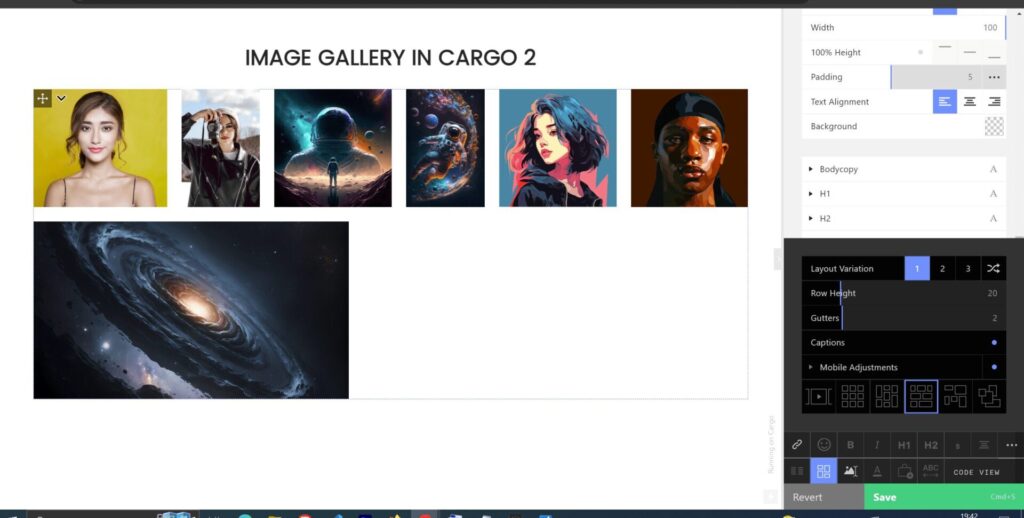
The Justify layout is one of my favorite layouts because it ensures that the size of the images doesn’t matter. All images automatically resize according to the row, creating a gallery that looks uniformly balanced and visually pleasing.
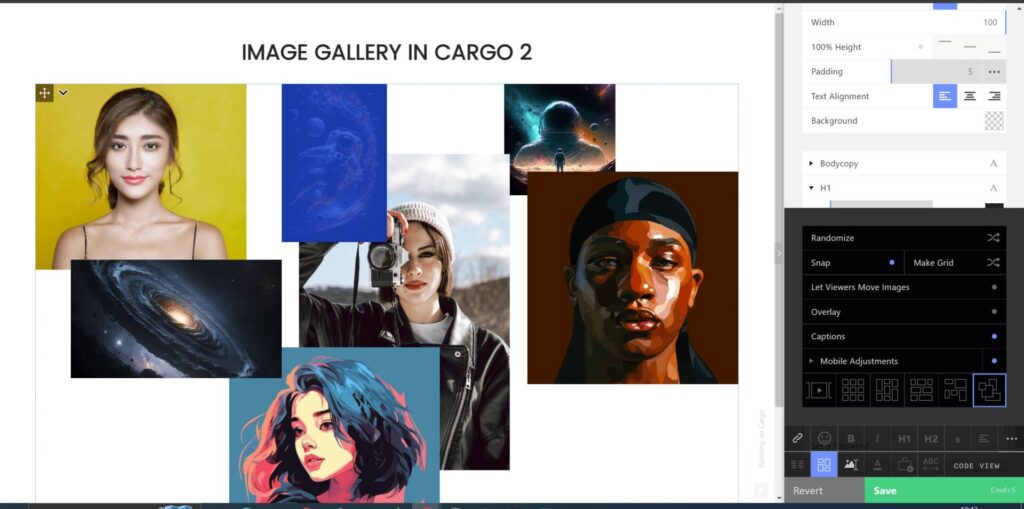
5. Freeform
If you prefer arranging images on your website by simply dragging them around and want the flexibility to display one image above another, then this layout is perfect for you.
It comes with additional settings, such as enabling the “Let Viewers Move Images” option, which allows users to drag and rearrange the images as they like.
All the layouts come with additional settings that you can easily apply by tinkering around a bit.
I hope you have found this blog helpful. Thanks for reading🚀
If you have any questions or need help with your Cargo Site, feel free to ask in the discussion forum.

