Dark Mode in Cargo Site using CSS and JS
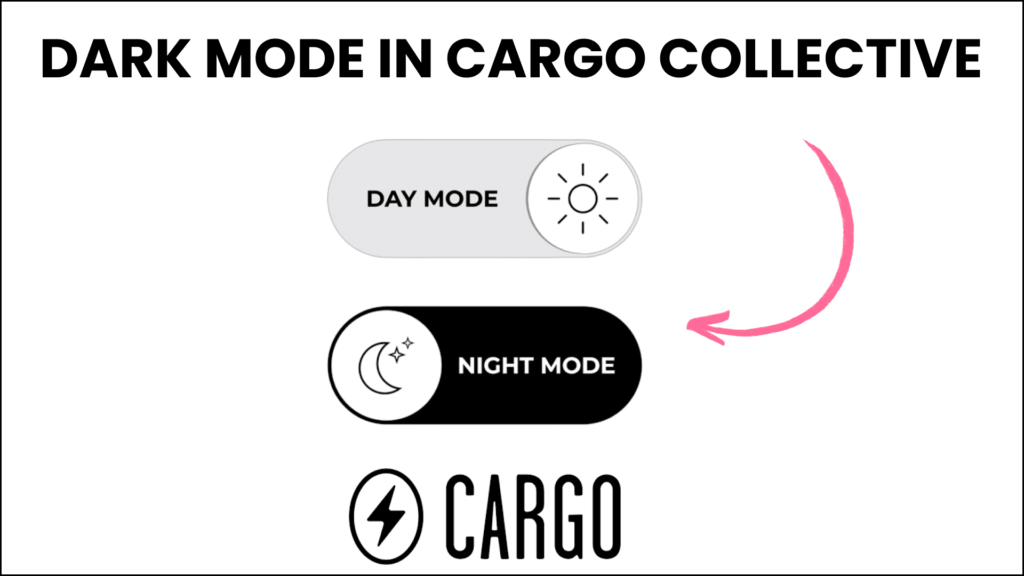
Cargo Site offers a canvas for creative minds to display their portfolios. Adding a dark mode feature can enhance the browsing experience for users who prefer reduced screen glare or simply enjoy the aesthetic appeal of a darker interface.
Why Dark mode is important?
Many phones and computers have a dark mode to reduce the bright light from screens, which can strain your eyes, especially in the dark.
Some people think dark mode helps them use their devices late at night without disturbing their sleep.
While some devices have a night mode with warmer colors, dark mode makes the background dark.
Adding a dark mode switch to your cargo site lets users pick the mode they like without extra tools. It’s handy for working at night or if your eyes get tired.
Let’s see how you can add dark mode to your cargo site.
Add Dark Mode in the Cargo Site
Cargo does not provide any built-in solution to add dark mode, so we need to add it using custom HTML, CSS, and some JavaScript code as well. We are going to how to implement this feature in Cargo 3 editor.
Step 1 – Add Toggle Dark mode button in HTML
Log in to your Cargo Collective account and navigate to the Cargo 3 site you want to edit.
Go to the page on which you want to add the toggle button. Click on the code panel of that particular page and in the HTML tag paste the button html and then in the CSS tab paste the CSS tab.
Learn Cargo 3 : Basic to Advance
<label class="switch">
  <input id="darkModeToggle" type="checkbox">
  <span class="slider round"></span>
</label>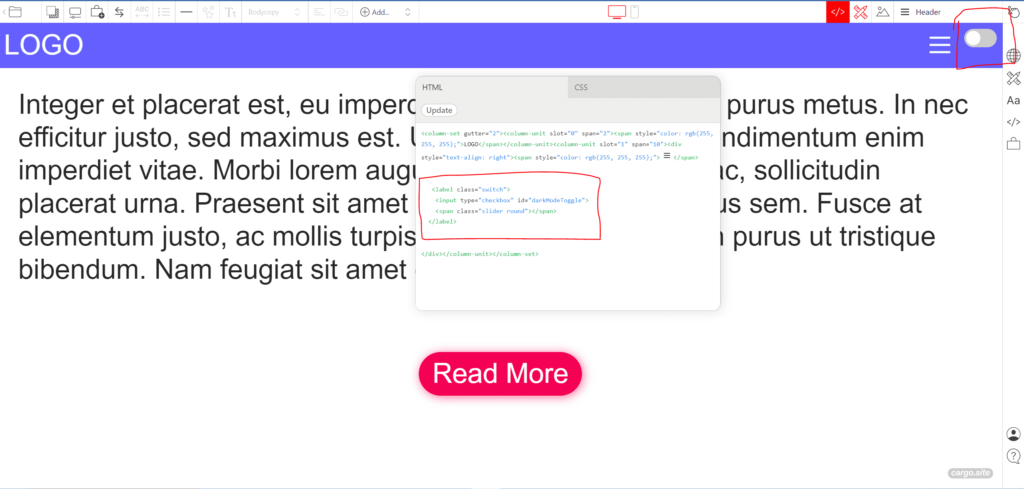
Step 2 – Add Toggle Button CSS
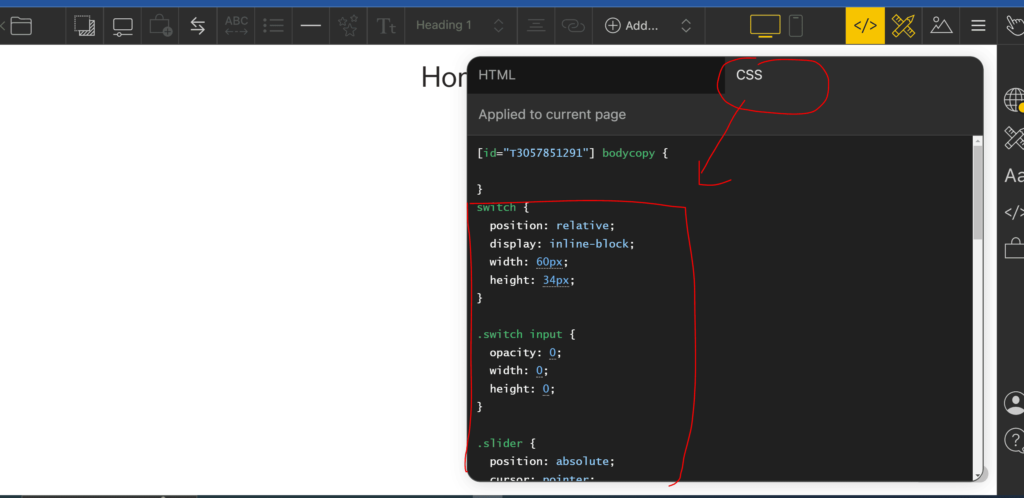
Now go to the CSS section of the Code View and add the code to style the toggle button.
.switch {
  position: relative;
  display: inline-block;
  width: 60px;
  height: 34px;
}

.switch input {
  opacity: 0;
  width: 0;
  height: 0;
}

.slider {
  position: absolute;
  cursor: pointer;
  top: 0;
  left: 0;
  right: 0;
  bottom: 0;
  background-color: #ccc;
  transition: .4s;
  border-radius: 34px;
}

.slider:before {
  position: absolute;
  content: "";
  height: 26px;
  width: 26px;
  left: 4px;
  bottom: 4px;
  background-color: white;
  transition: .4s;
  border-radius: 50%;
}

input:checked + .slider {
  background-color: #2196F3;
}

input:focus + .slider {
  box-shadow: 0 0 1px #2196F3;
}

input:checked + .slider:before {
  transform: translateX(26px);
}

/* Rounded sliders */
.slider.round {
  border-radius: 34px;
}

.slider.round:before {
  border-radius: 50%;
}

body {
  transition: filter 0.3s ease-in-out;
}

.dark-mode {
  filter: invert(1) hue-rotate(177deg);
}
Step 3 – Add toggle functionality in JS
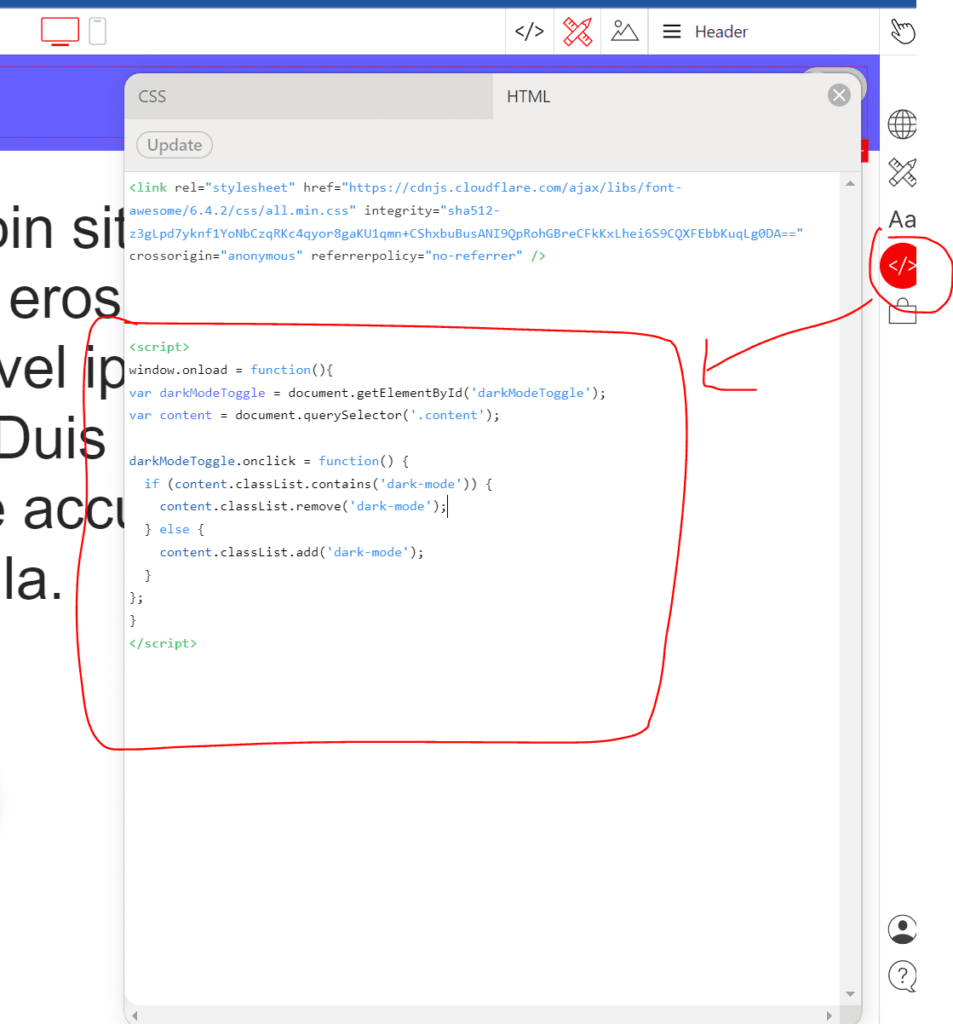
Now open the main Code editor and add the javascript code to toggle between the dark and light modes.
<script>

window.onload = function(){
var darkModeToggle = document.getElementById('darkModeToggle');
var content = document.querySelector('.content');
darkModeToggle.onclick = function() {
  if (content.classList.contains('dark-mode')) {
    content.classList.remove('dark-mode');
  } else {
    content.classList.add('dark-mode');
  }
};
}


</script>
Code Explanation –
<script>
window.onload = function() { ... }: This line of code defines a function that runs when the webpage finishes loading. Everything inside the curly braces { ... } will execute when the webpage has fully loaded.
var darkModeToggle = document.getElementById('darkModeToggle');: This line finds an HTML element with the ID 'darkModeToggle' and stores it in a variable named darkModeToggle. This element is likely a button or a link that users can click to toggle between light and dark mode.
var content = document.querySelector('.content');: This line finds an HTML element with the class 'content' and stores it in a variable named content. This element represents the main content area of the webpage and will have its appearance changed when toggling between light and dark mode.
darkModeToggle.onclick = function() { ... }: This line defines a function that runs when the darkModeToggle element is clicked. Everything inside the curly braces { ... } will execute when the toggle button is clicked.
if (content.classList.contains('dark-mode')) { ... }: This line checks if the content element has a class named 'dark-mode'. If it does, it means the webpage is currently in dark mode.
content.classList.remove('dark-mode');: If the content element is currently in dark mode, this line removes the 'dark-mode' class from it, effectively switching the webpage back to light mode.
content.classList.add('dark-mode');: If the content element is currently in light mode, this line adds the 'dark-mode' class to it, switching the webpage to dark mode.
Step 4 – Publish the website and test the functionality
Now click on the globe icon and click on “Publish Changes” to make the functionality live.
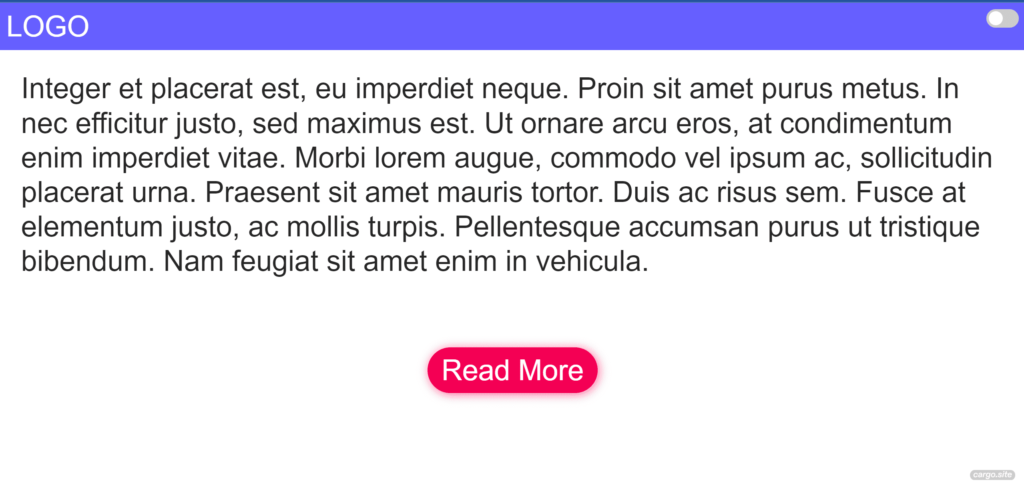
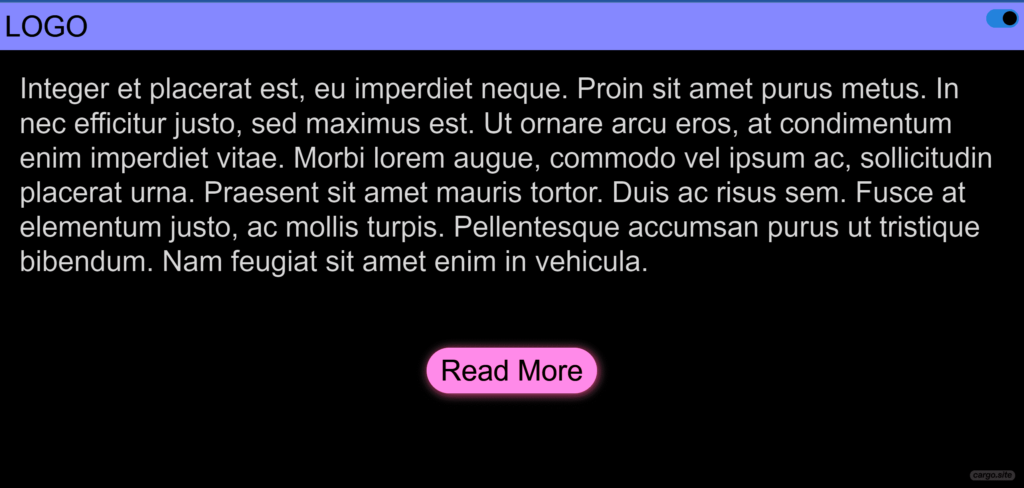
Congratulations we have successfully added Dark Mode to Cargo Site.
I hope you have found this blog helpful. Thanks for reading🚀
If you have any questions or need help with your Cargo Site, feel free to ask in the discussion forum.


